Building a custom mechanical keyboard

#Here she is in all her glory.
#Specs:
- Case: Jupiter75 Bluetooth
- Switches: Holy Pandas (YOK Trash Pandas + Halo Trues) lubed with Tribosys 3204
- Plate Material: Aluminum
- Stabilizers: Durock
- Keycaps: GMK Dots
Assembling this keyboard took actual blood, sweat, and tears. But I’d be wrong if I said it wasn’t worth it 🤩. It took about 6 hours in total and around 3 hours prior lubing and assembling all 84 holy panda switches.
I took some pictures along the build process so I can look back on my suffering, so please enjoy!
#Box
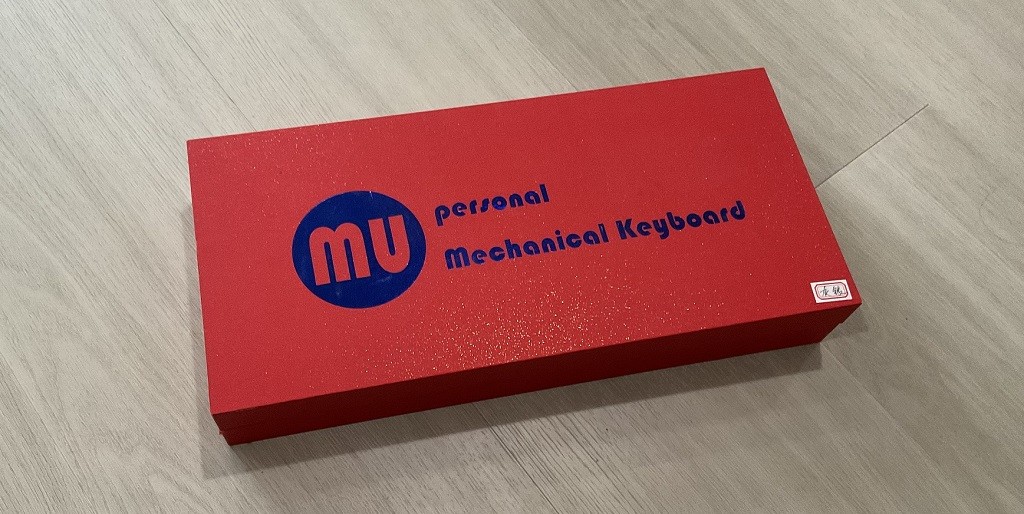
Here’s the nice box the case came in. Not pictured, but inside was the case, the plate, and some screws.
#Spread
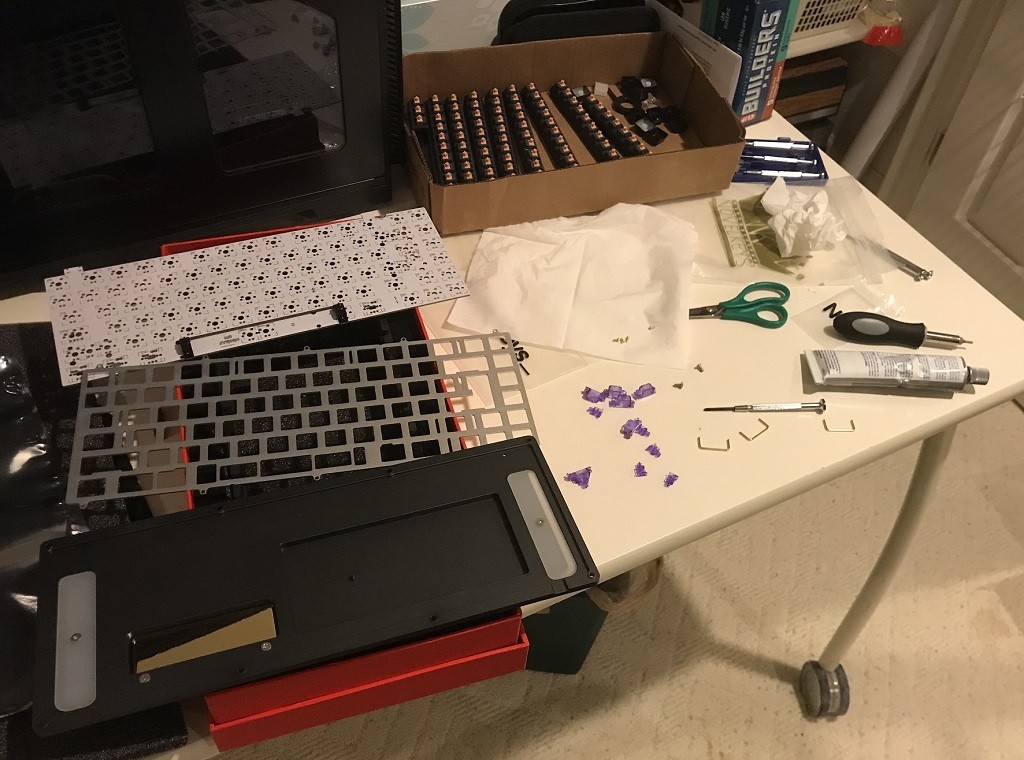
All the parts and tools on the table, ready for assembly. Ignore how messy this desk is 😅.
#Stabilizers in the PCB
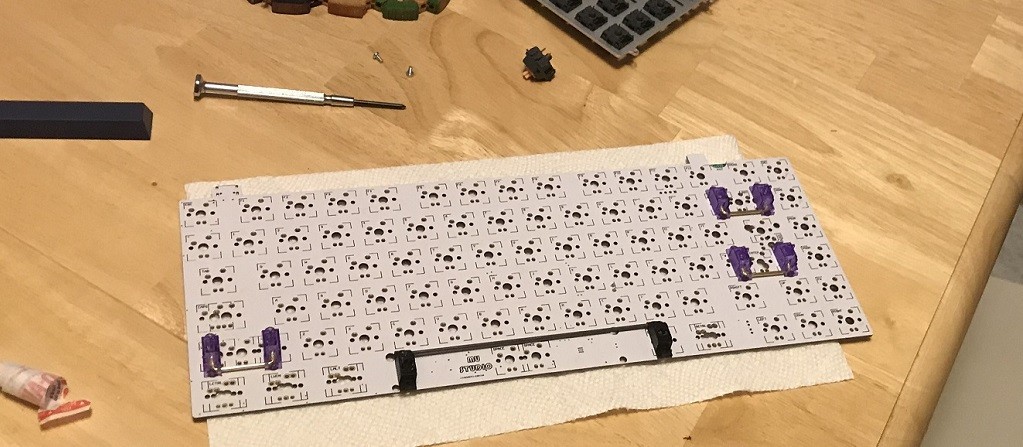
The single-handedly most important part of any build: the stablizers. Basically, you submerge the stabilizer in dielectric grease or whatever lubricant you have on hand, so that way it doesn’t rattle whenever you press it down. Putting some clipped band-aids underneath the stabilizers also helps to dampen the sound.
👉 Followed Taeha’s guide to tune the stabs.
#Switches In
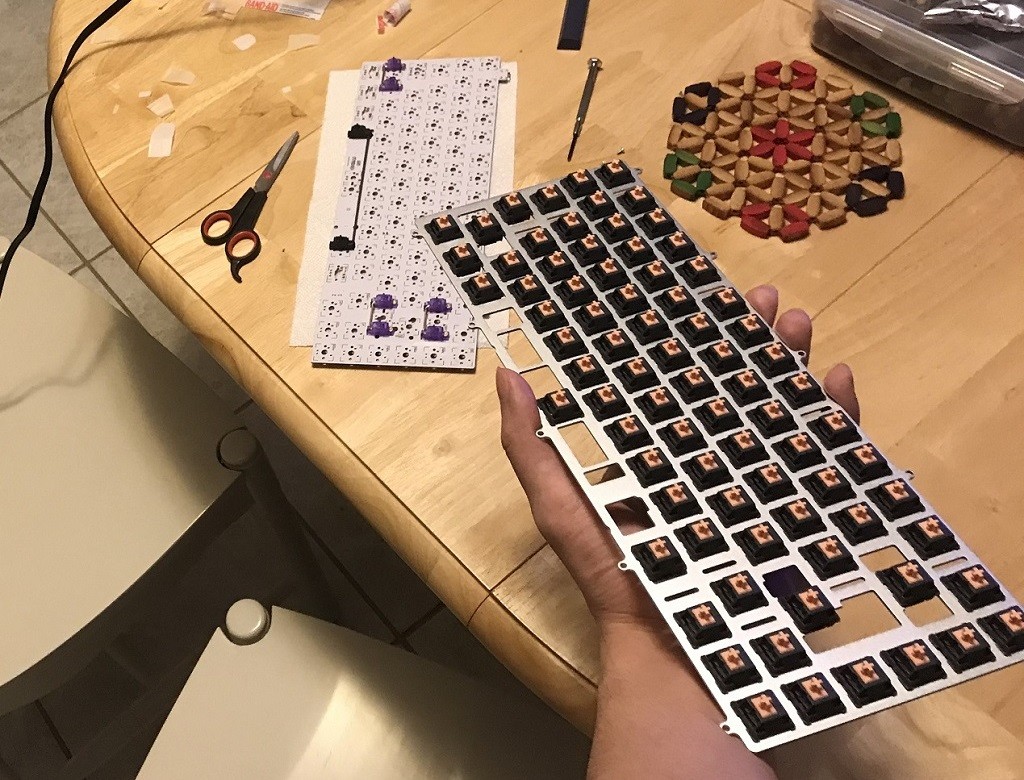
Now that all the switches are in the plate, it’s ready to be soldered to the PCB. The mounting style is top-mount as you can see by the screw holes on the plate.
#Soldering the PCB in
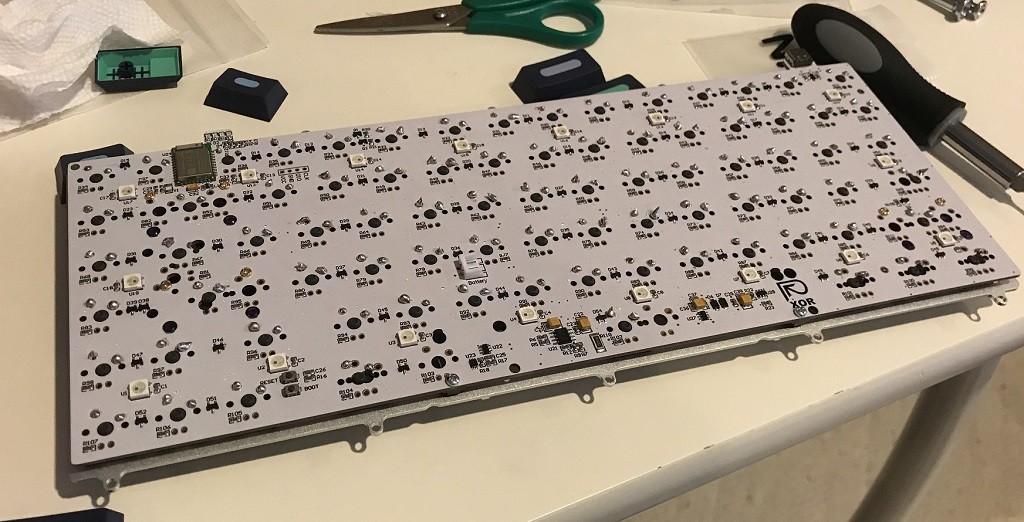
Soldering is a little daunting if you’ve never done it before, but once you get the technique down it’s pretty simple. All you need to do is touch the solder to the soldering iron while it’s on the joint (and not vice versa). Using this tech, I was consistently able to get a good cap on each joint.
In the pic, there are 168 joints soldered (84 switches x 2 connections).
#Placing the PCB and plate into the case
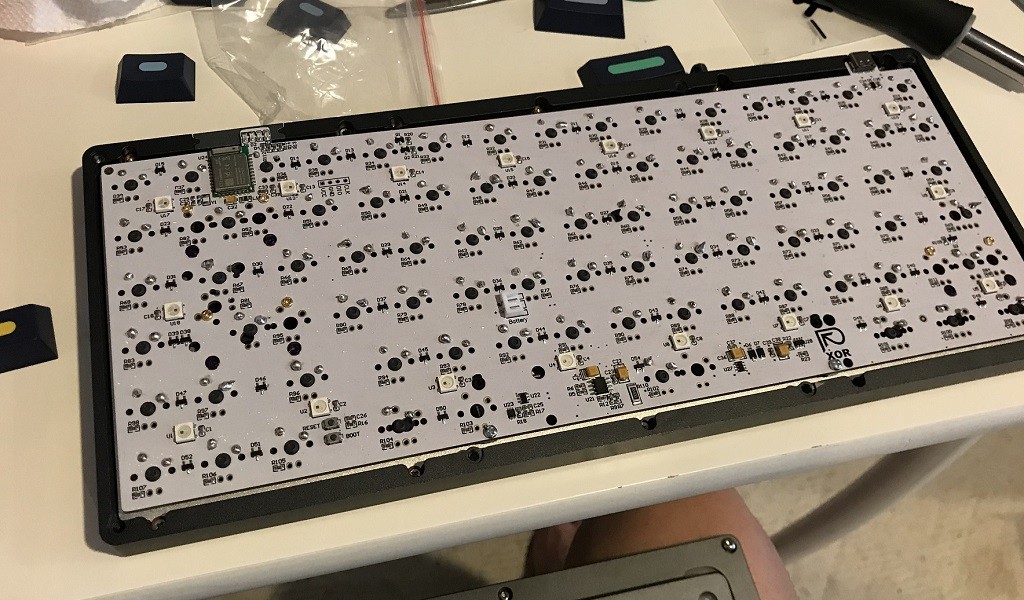
Be sure to test your PCB to make sure that all the switches are working once you finished soldering and before you put it into the case.
#Assembling the case
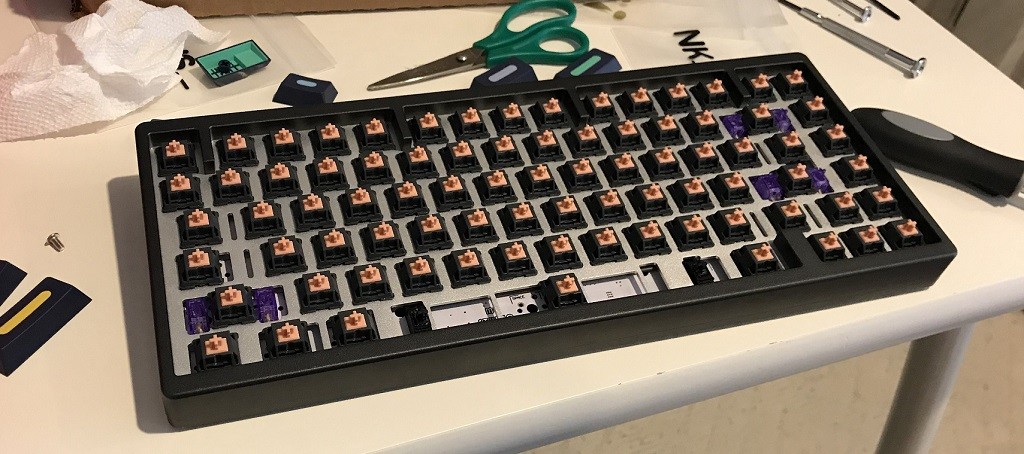
Now that everything is put together, all that’s left is placing the keycaps.
#Finished!

Voilà, the keyboard is finished.
How do you know where you’re typing? That’s the fun part: I don’t! 🤣 But for real, instead of homing ridges on the F and J keys, they’re scooped so I know where to place my hands.
Why is your spacebar backwards? It feels better than normal spacebar… just try it 😉.
Sound test? I recorded the Holy Panda audio on kbs.im using this keyboard, so try typing on it yourself!